A friend came to my house awhile ago, and her baby had the cutest little taggy blanket. I loved the small, square size and decided my little Reese needed one of her own. So, I dug out some fabric and ribbon scraps, found a little time (30-45 min-but you could probably do it faster!), and this is what I ended up with:
And here's how to do it:
1-- Cut your fabric. You could easily just use one solid fabric per side, but I wanted to use up scraps, so I made mine quilt-style. My brown square started out about 8 1/2". My small squares started 4 1/2".
2--Sew your small squares together. I used a 1/4" seam. (Ignore this step if using single piece of fabric).
3--Cut ribbon, lace, or ric-rac (about 2"-4" each). I used 16 total-4 per side of the square, but this totally depends on you.
4--Pin the ribbon onto the right side of the fabric (either the front or back). The ribbon needs to be pointed in toward the center of the square.
5--Sew the ribbon in place by sewing a 1/4" seam around the square of fabric.
6--Now take both squares of fabric. Pin right sides together. Sew around with a 1/4" seam. Leave about a 3" section so you can turn right side out.
**Sorry, I didn't take pictures of these steps.
7--Turn right side out.
8--Sew a topstitch all around. This makes a nice finish, plus it closes up the hole you used to flip the fabric.
Ta-da. You're done. Easy, easy, and your baby will LOVE it!
Thursday, October 27, 2011
Monday, October 24, 2011
And I'm Back...
Okay, I realize it's been FOREVER since I posted last. Sorry. The last two months have been a little (or a lot) crazy--including a big move from Colorado to Washington.
The good news is that I am finally feeling like I can breath again. I had been feeling like I was underwater--SO much to do. But things have slowed down now. I am mostly unpacked and settled, the husband started his new job, kids are back in school, and now I feel like I can get back into crafting.
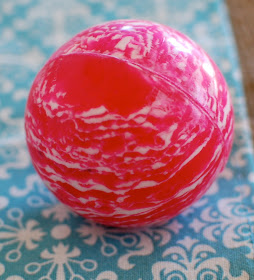
Here is a super easy craft for you. Remember that cloche I made awhile ago? Well, I have been debating what to put in it. Then one day it hit me--a bouncy ball. You know those bouncy balls you buy your kids for a quarter at Old Navy (am I the only one that does this?). I have TONS. I guess I have been to Old Navy kind of a lot.
But of course, I couldn't just put in plain old bouncy balls. No, but after about 10 minutes they were ready.
Quite simple. Only thing I used, JUTE, YARN, and SCISSORS. Simple. Start wrapping the ball in the yarn or jute. I didn't even glue or anything. Just wrap until you are happy with how it looks. I didn't go in any particular pattern. Once it is covered and looks okay, cut the yarn and tuck in somewhere. It doesn't get much easier than that. Oh--and thank your kids for letting you borrow a few of their balls. Luckily, I don't think they'll be missed.
Hooray for being back to crafting!


