Thursday, July 28, 2011

My Name Is...

A few years ago I decided to make my kids name boards for their bedrooms.
So when little Reese came, I knew I needed to make one for her as well.  Here is what I came up with--with a little tutorial so you can make your own.  This was such a fun project that ANYONE can do!

So now after she is blessed, I will hang it with the other two here:

Monday, July 18, 2011

SUMMERTIME

Okay, so I think it's about time to take down my 4th of July decorations and put up something a little more summery.  I saw a similar cute sign on another blog, and I decided I needed to make one.  Here's how it turned out:


Don't you just LOVE summer!

Tuesday, July 12, 2011

Something New

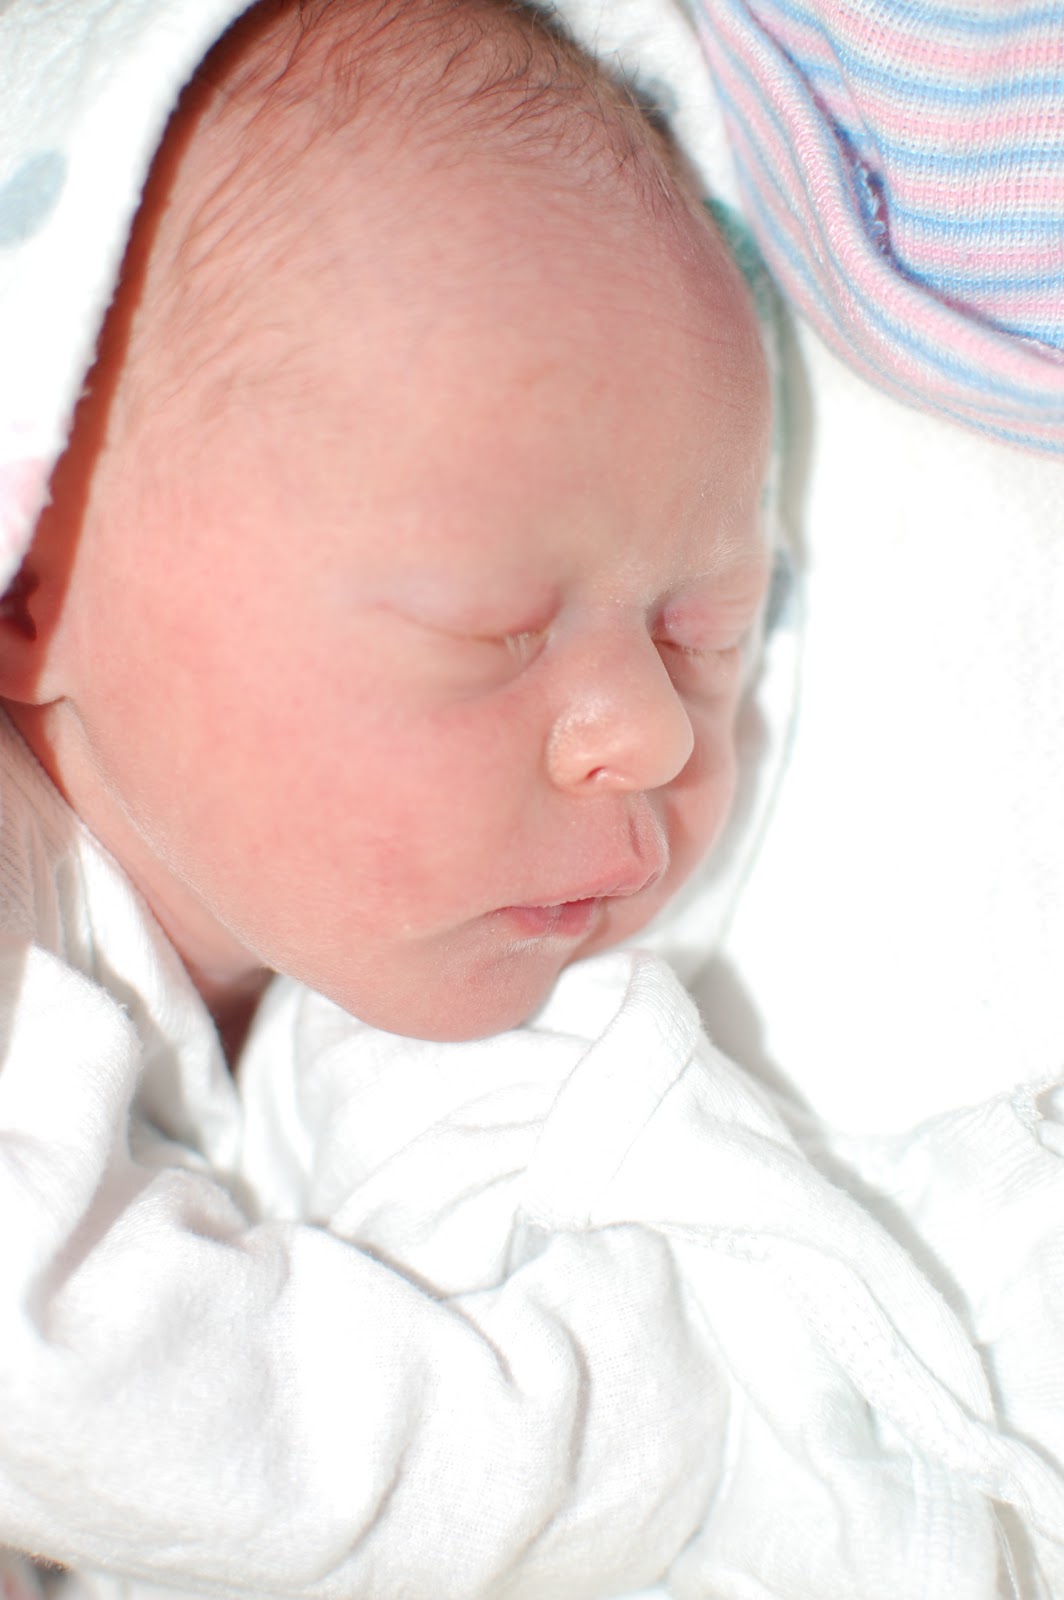
Our new little girl arrived last Thursday, so I have been busy enjoying her. 
(Check back soon though for some new crafts).

But for now, enjoy a couple pictures of my sweet little Reese.

Wednesday, July 6, 2011

Ooey, Gooey Traditions

Ever since I can remember, fireworks have meant Carmel Popcorn--the good and gooey kind.  So of course, when we started watching fireworks with my own kids and family, the tradition had to be carried forward!
We were a little worried we wouldn't be having fireworks where we live on the 4th because there is a big fire ban where we live.  When I told my 3-year old there might not be fireworks, her response was "Well, we will just have to eat carmel popcorn at home."  Luckily the city still put on their annual firework show, and we got to enjoy our little treat.

My mom has always said, "The secret to being a good cook is collecting good recipes."  Well this is one of those good recipes.  It is easy, but SO delicious!  It can be used as an ice cream topping too!

Carmel Topping/Popcorn:

1 can Sweetened Condensed Milk
2 c. Brown Sugar
1 cube Margarine
1 C. Corn Syrup
*For topping, barely bring to a boil.
**For popcorn, cook to 224 degrees on candy thermometer.  Pour over 2 batches (1 c. dry) air-popped popcorn. --Depending on how sticky and gooey you want it, you can use more popcorn.  I usually do!
***Also, I usually do not want to make a full batch of the popcorn because it makes a lot.  So I cook mine just until the butter is melted and everything is mixed together--and at a barely boil stage.  Then I pour some into a jar to store into the fridge.  Then I continue to cook the remaining carmel over medium heat until it reaches the 224 degrees.  The carmel stored in the fridge stays good for quite a long time and can be used for ice cream topping or heated up to the 224 degrees to make popcorn at a later time.
ENJOY!

Thursday, June 30, 2011

Water Balloon Toss

Water balloons are the PERFECT Summertime activity!  All kids love them.  This simple sling-shot makes them even more fun-for kids and adults!  It's REALLY simple to make, too!
 Supplies:
-An old pair of jeans (men's probably works best since they are a little wider)
-Surgical Tubing--about 15' of 1/2" diameter (purchase at medical supply stores or in some pharmacies.)
   **if you can find thicker tubing (about 1"), you only need half that amount because it doesn't need to be doubled up.

Steps:
1--Take your jeans and cut about a 11" section off between the knee and the waist (you don't want the pocket).  Keep the side seams in tact, just cutting straight above the knee and then again 11" up from there.
2--Sew about an inch seam along the jean side seams.  This is where you will feed the tubing.
3--Feed your surgical tubing through those sides you just sewed.  Go around twice so the tubing is doubled up.  Tie your two ends together in a tight knot.
 Now, Have FUN!
You just need 3 people to operate the sling-shot.  One on each side to stretch the tubing out, and one to place the water balloon in the jean sling, pull back, aim, and fire.
It's a BLAST, and a great activity for friends, neighbors, and family!

Monday, June 27, 2011

The Cake

The ANGRY BIRD CAKE:  Now, I must admit, the inspiration came from here. And, that dad is nicer and more fun than me.  I was not about to let a bunch of 5 years shooting the cake pieces with a sling-shot.  Sorry.  I think all the kids at the party still liked the cake.

So here is my tutorial:

Homemade Marshmallows:  I used the recipe found here.  I had never made them before, and they were SO, SO, SO sticky.  But they worked perfectly for what I had in mind.  I wanted some of them to have the dirt-look, so I for those I added a little cocoa to the powdered sugar mixture that you roll in after cutting them.  Oh, and they tasted pretty good, too! **Also, I don't have a stand-mixer.  I was a little worried about my hand mixer engine going bad, but it worked okay.
Nutty Bars: Pretty self-explanatory.  I did use a few long skewers to place them down into the cake.
Tower Base & Triangles: I baked a cake (according to the cake mix), but baked them in 2 loaf pans.  After they were baked and cooled for 10 minutes, I took them out of the pans.  When they were completely cooled, I cut one in half.  Then I cut the other half into 2 triangles.  I wrapped the individual pieces in plastic wrap and stuck them in the freezer over night.  Then I took them out just as I was ready to decorate the cake.
I made a simple butter cream frosting and colored it green for the grass base.  Then I used a chocolate frosting to cover the cake.  Nothing fancy.  I would suggest making the cake balls first however before doing the cake.
Cake Balls: I used this tutorial.  I just used a cake mix.  They were pretty easy to make the balls.  The decorating took a little more time.  I made them the night before, and kept them in the fridge.
Rolling the cake balls: For the red birds and green pigs I used candy melts and for the black birds I used chocolate chips.  The candy melts worked the best.  I used a skewer to dip them, and then just placed them on wax paper to dry before adding the face.  When I added the little face pieces, I used a skewer, dipped it in the melted candy and used it as a "glue" to adhere all the pieces.
The eyes: I used white chocolate chips.  I did cut off the pointed edges.
The beaks: These were those little yellow mints that look like chocolate chips.  I cut them into triangular-ish shapes.
Eyebrows: I took a single Tootsie Roll and rolled it out thin.  Then I cut little strips and folded them into a "V."
Feathers on Top: Simply cut little pieces of licorice rope.  You do need to hold them in place for a second while the chocolate dries so they will stay standing upright.
Pig Snout & Ears: I just used the green mints.  I cut them in half for the ears.

Okay, it looks like a lot, but it really wasn't bad.  Actually I had a lot of fun making it.  I think I was more excited for the party then Cole was.
Yum, Yum!